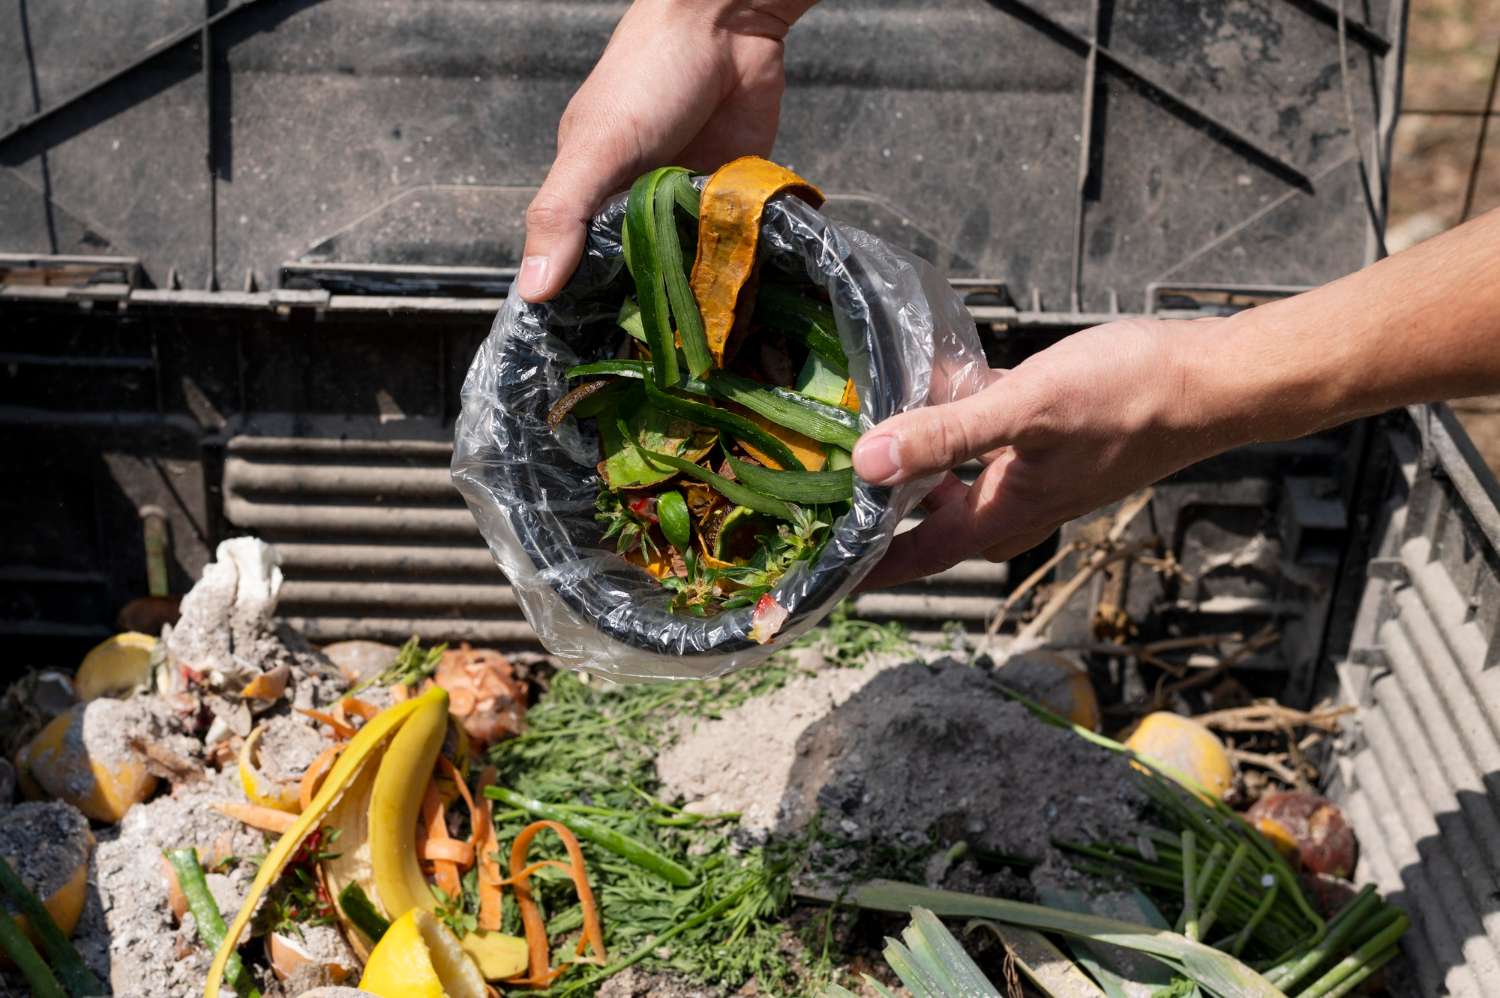
If you prefer a hands-on approach, building a DIY compost bin is an affordable and rewarding way to start composting. Here’s how to get your hands dirty and make three types of DIY bins depending on your space and materials.
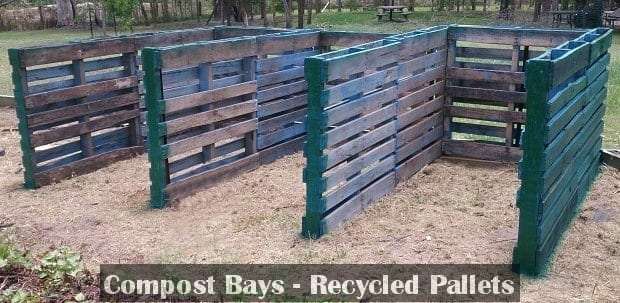
1. Traditional Compost Bin (Wood Pallet Bin)
Best for: those who have some extra space and are SERIOUS about composting.
What You’ll Need
- 4 wooden pallets
- big, thick screws
- a drill/hammer
- Optional: a tarp or lid
Instructions
- Arrange the pallets upright to form a square or rectangle.
- Attach the pallets together with screws to create a sturdy structure.
- Leave one side open or create a removable door for easy turning and harvesting.
- Add your greens and browns, layer by layer. Cover with a tarp if you want to protect it from rain.
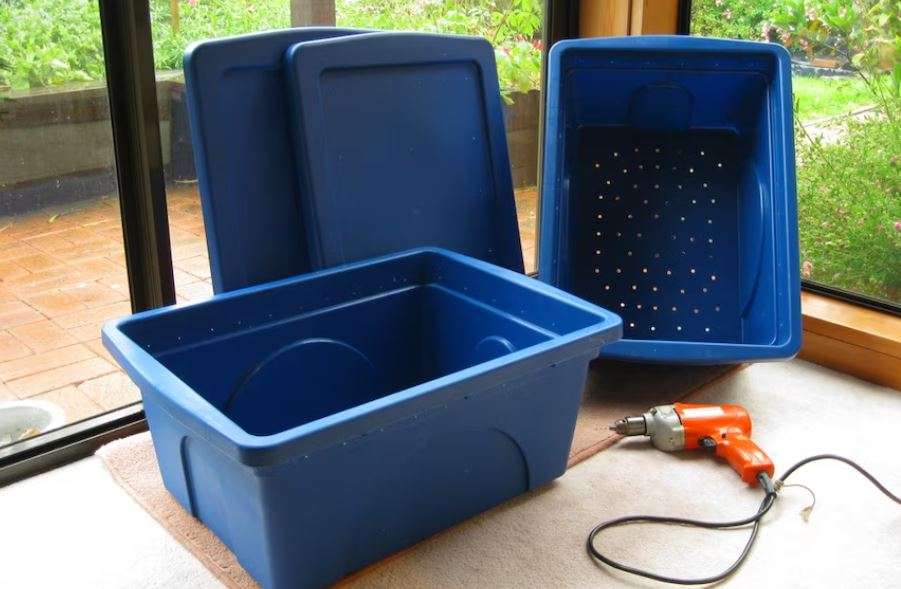
2. DIY Worm Farm (Stacked Bin System)
Best for: people living in apartments, or if like us, you only have a itsy bitsy backyard
What You’ll Need
- 2 plastic storage bins (stackable) with lids
- A drill for air holes
- Red wiggler worms (available at garden centers or online)
- Shredded newspaper or cardboard for bedding
Instructions
- Drill small holes in the top and sides of one bin for ventilation and drainage.
- In the bottom bin (which collects liquid), drill no holes. Place it under the other two.
- Fill the top bin with moist shredded paper as bedding and add your worms.
- Start feeding them small amounts of food scraps. Cover scraps with bedding to avoid fruit flies.
- Harvest worm castings after 2-3 months and collect the liquid (worm wee) for your plants.
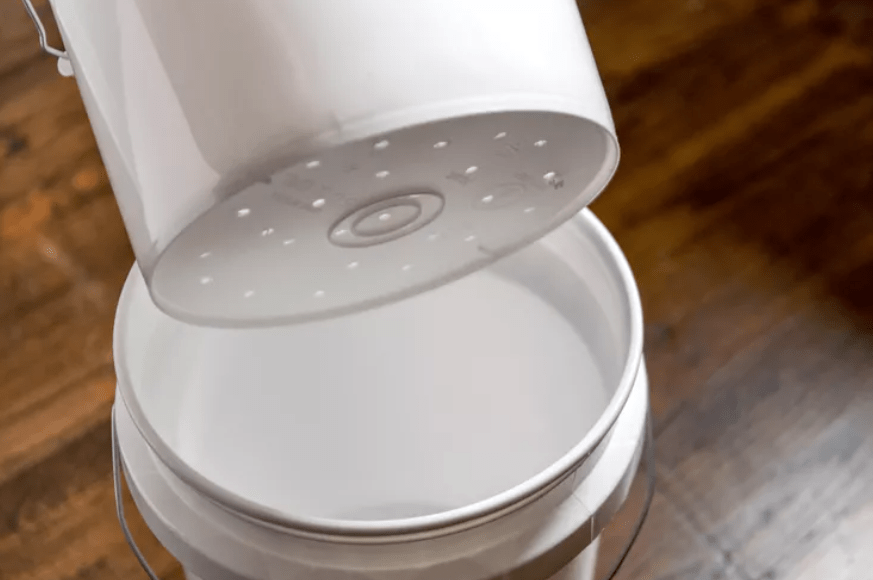
3. Bokashi Bucket (DIY Fermentation Bin)
Best for: Indoor composting with no outdoor space
What You’ll Need
- 2 airtight buckets with lids (stacked)
- A spigot for draining liquid
- Bokashi bran (make your own with this recipe)
Instructions
- Drill small holes in the bottom of the top bucket and place it inside the other bucket.
- Add food scraps and sprinkle a layer of bokashi bran each time you add scraps.
- Seal the lid tightly after each addition. Drain the liquid every few days.
- After the bin is full, let it ferment for 2 weeks before burying it in soil or adding it to your garden.
Worm Care 101
Setting Up Your Worm Farm
- Choose Red Wigglers: These worms thrive in confined spaces and eat up to half their body weight in food each day.
- Create Bedding: Use damp shredded newspaper, cardboard, or coconut coir. Keep it moist but not soggy.
- Start Slowly: Feed the worms small amounts of food at first. Avoid overloading them until they multiply.
What Worms Love to Eat
- Fruit and veggie scraps (avoid citrus and onion in large amounts)
- Coffee grounds and tea leaves
- Crushed eggshells
- Bread (in moderation)
Avoid Feeding Them
- Meat, dairy, and oily foods
- Citrus and spicy foods
- Plastic or synthetic materials
Worm Farm Maintenance Tips:
- Keep it cool: Worms thrive in temperatures between 15-25°C.
- Harvest regularly: Worm castings can be harvested every 2-3 months.
- Use worm tea: Dilute the liquid (1:10 with water) and use it as a powerful fertiliser for your plants.
FAQs
How long will it take for my compost or worm farm to start breaking down food scraps?
- Compost bin: Typically, a traditional compost bin can take anywhere from 2 to 6 months to fully break down, depending on temperature, moisture, and how often you turn it.
- Worm farm: Worms can take about 2 to 3 months to process food scraps, and the castings will be ready to harvest at that time.
What can I do if my compost bin starts smelling?
- If your compost smells, it might be too wet or lack oxygen. Try adding more dry materials (like straw or shredded paper) and turning the pile more often. Also, make sure you’re layering your greens (nitrogen-rich materials) and browns (carbon-rich materials) properly.
How do I know when my Bokashi bucket or worm farm is ‘full’ and ready for use?
- Bokashi: the bucket is full when it’s at capacity. After that, seal the lid and let it ferment for about two weeks.
- Worm farm: The top bin is packed with food scraps, and you can no longer see much bedding or castings underneath. It’s time to harvest after 2-3 months of feeding.
Can I compost meat, dairy, and other items in the Bokashi bin or worm farm?
- Bokashi: Yes, you can compost meat, dairy, and even cooked food in your Bokashi bin, which makes it great for indoor composting.
- Worm farm: Avoid feeding worms meat, dairy, oily foods, and large amounts of citrus or spicy foods, as these can harm the worms and create odors.
How much space do I really need for each type of DIY compost bin?
- Traditional Compost Bin: You’ll need a bit more space, ideally 1 to 2 square meters. It works best if you have a backyard.
- Worm Farm: A small, stackable worm farm can fit in a cupboard or on a balcony, so it’s perfect for apartments or tiny yards.
- Bokashi Bucket: These bins are compact and can easily fit under a kitchen sink or in a cupboard, making them ideal for indoor spaces.
How do I prevent fruit flies or pests in my compost or worm farm?
- Compost bin: To avoid fruit flies, bury your food scraps under a layer of browns like leaves, straw, or cardboard. Turning the pile regularly also helps keep pests at bay.
- Worm farm: Keep the bin moist but not too wet, and cover food scraps with bedding to avoid attracting flies. Make sure the lid is on tight!
Can I compost cooked food scraps, like rice or pasta?
- Compost bin: You can compost small amounts of cooked food, but avoid anything too greasy or spicy. Make sure to chop or break up larger items into smaller pieces to speed up decomposition.
- Worm farm: It’s best to avoid feeding worms large amounts of cooked food, especially pasta, rice, or oily dishes, as they can create a soggy environment. If you do feed cooked food, do so in moderation and cover it with bedding.
Do I need to add more Bokashi bran during the fermentation process, and how much should I use?
- Yes! After each addition of food scraps, sprinkle a generous layer of Bokashi bran to help with the fermentation. The goal is to cover the scraps completely to ensure they’re sealed off from oxygen. You may need to add more bran as you fill the bin.
What do I do with the liquid from the Bokashi bin or worm farm (like worm tea)?
- Bokashi: The liquid (often called “Bokashi tea”) can be used as a natural fertilizer for plants. Dilute it with water (about 1:10) before applying it to your garden or indoor plants.
- Worm farm: The liquid, also known as “worm tea,” can be used in a similar way. It’s a nutrient-rich liquid that can be diluted and used to water your plants for added growth.
Can I use compost from my bin immediately, or does it need to ‘cure’ first?
- Compost bin: While compost can be used straight from the bin, it’s often better to let it “cure” or rest for a few weeks to allow it to stabilize. This gives the microbes time to finish breaking down any remaining materials.
- Bokashi: After fermentation, you should bury the Bokashi compost in the ground or mix it into a traditional compost bin for further breakdown.